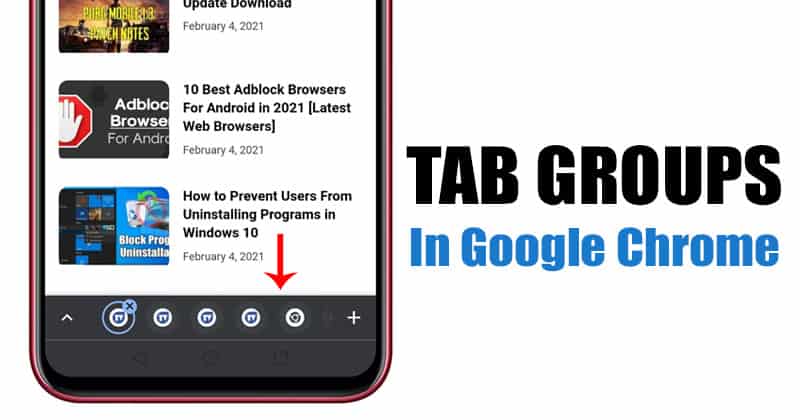
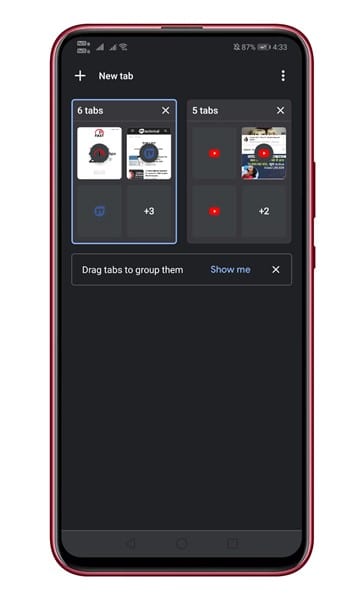
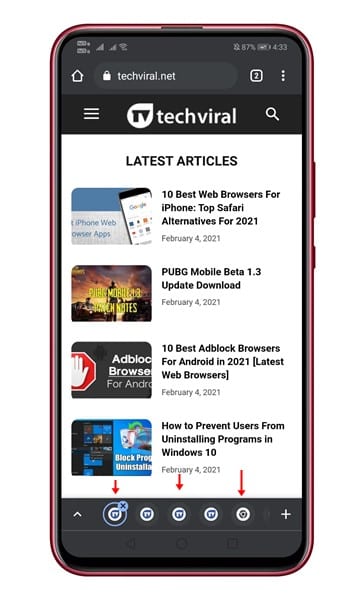
Previously, the feature was available only on the Chrome beta for Android. However, now it looks like the feature has arrived on the stable build as well. It’s a tab management feature that adds a tab bar on the bottom of the screen. The new tab bar lists all opened tabs. Also, you can use the new tab group to group tabs together, almost like a folder. Grouping tabs into a folder could help you in multiple ways. It not only keeps the tabs organized but also provides you with quick access to your frequently used Chrome tabs. Also Read: How to Install & Use Desktop Chrome Extensions On Android
Steps to use Tab Groups & Bottom Tab Switcher in Chrome for Android
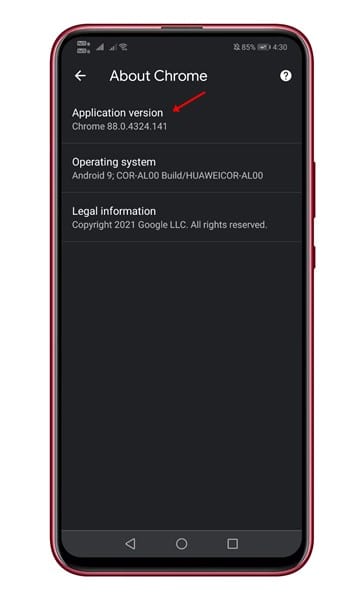
Now that the feature has arrived on Chrome’s stable build, we have decided to share a step-by-step guide on using the new feature on Android. So, let’s check out how to use the Tab Groups feature in Chrome for Android. Step 1. First of all, head to the Google Play Store and update the Chrome web browser. The feature is only available on the latest Chrome version 88 or newer.
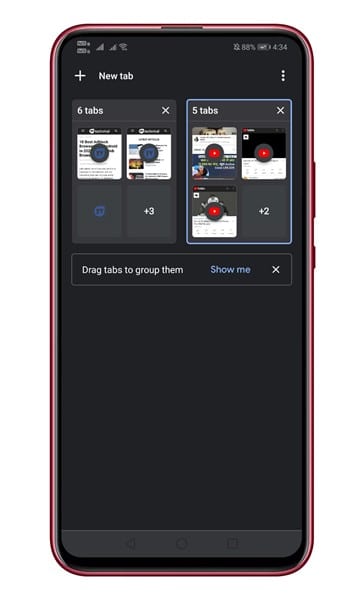
Step 2. Now open the Google Chrome web browser on Android and open multiple tabs. Step 3. For example, we have opened five tabs of Techviral website and five tabs of Youtube. The tabs will be automatically aligned into groups.
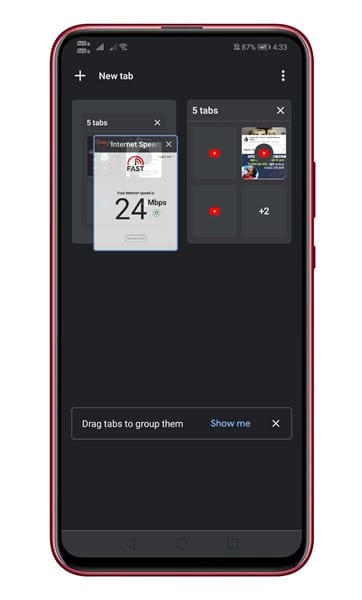
Step 4. If you want to add any existing tab into a group, long press on the tab, and then drag it into a group.
Step 5. Similarly, you can create another group for your remaining tabs.
Step 6. Now open a tab group and tap on any tab. You will notice a bottom tab switcher listing the existing tabs of the same group. The bottom tab switcher allows you to switch between the tabs in the group easily.
That’s it! You are done. This is how you can use Tab Groups in Google Chrome for Android. This article is all about how to use the new tab groups feature of Google Chrome for Android. If you have any doubts related to this, let us know in the comment box below. I hope this article helped you! Please share it with your friends also.
Δ
