While we have different methods to block websites, the most popular and the best option is editing the Hosts file. However, the problem with restricting websites via the Hosts file is that the file is hidden deep under the system installation folder, and editing it requires administrator access.
Steps to Find and Edit the Hosts File in Windows 11 (Block Websites)
However, once you know the process, things will become much easier. Hence, if you are interested in finding and editing the hosts files in Windows 11 to block specific websites, you have landed on the right page. Below, we have shared a step-by-step guide on finding and editing hosts file in Windows 11. Let’s get started.
How to Find the Hosts file in Windows 11
As mentioned above, the hosts file in Windows 11 resides deep in the System 32 folder. Finding hosts file in Windows 11 could be complicated, but you can make things easy by knowing the exact path.
First, open the File Explorer on your PC and double click on your system installation drive.
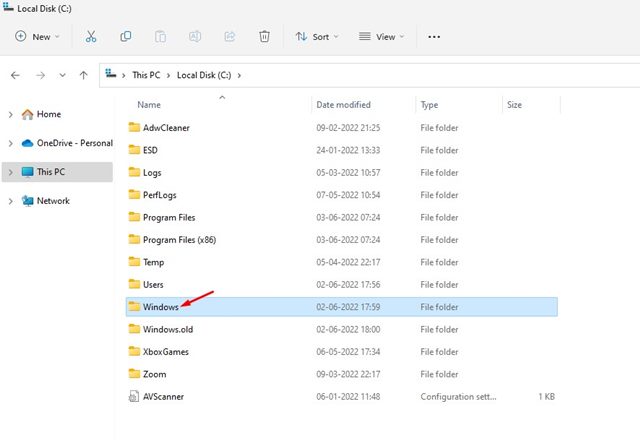
On the System installation drive (usually Local Disk (C:)), double click on the Windows.
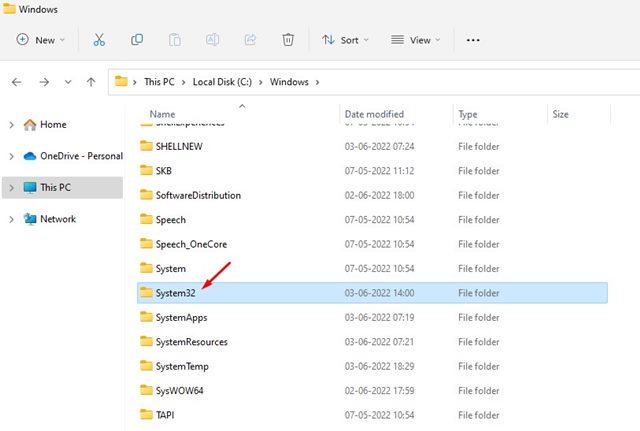
On the Windows folder, find and double click on the system32 folder.
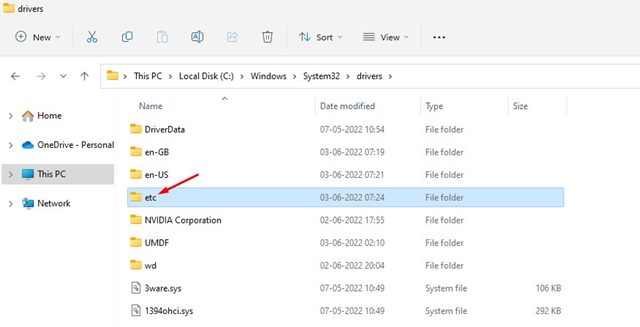
On the system32 folder, find the drivers folder. If you can’t find the drivers folder, utilize the search option to find it.
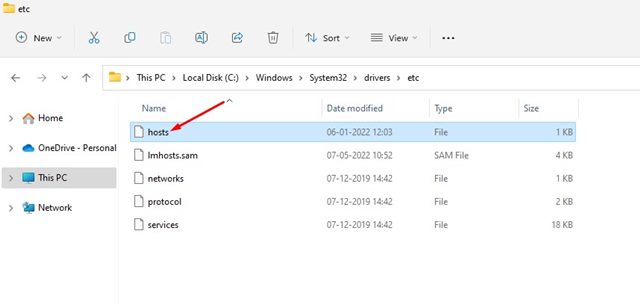
On the drivers folder, double click on the etc folder.
On the etc folder, click on the view button on the top bar and select Show > Hidden items. Now you will find a file named ‘Hosts‘
That’s it! This is the hosts file that you need to edit to block websites.
How to Block Websites using Hosts File?
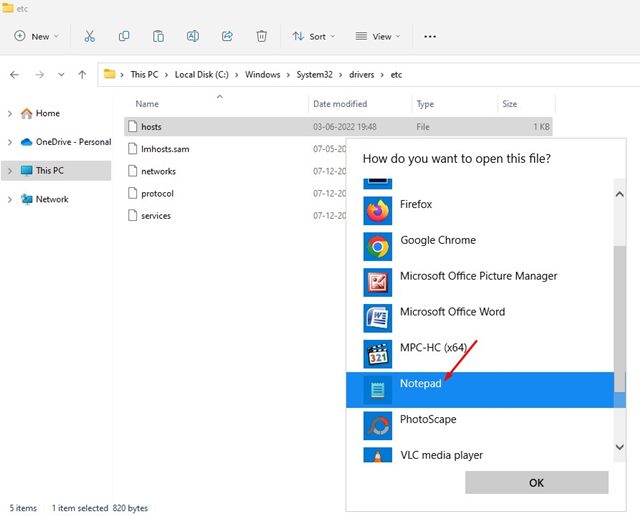
If you want to block websites using the hosts file, you first need to log in to your administrator account on Windows 11. If you don’t want to use the administrator account, you can grant the administrator permission to the user account you are using. Before editing the Hosts file, copy the original file to a safe location. Next, double-click on the Hosts file and select Notepad to open the file.
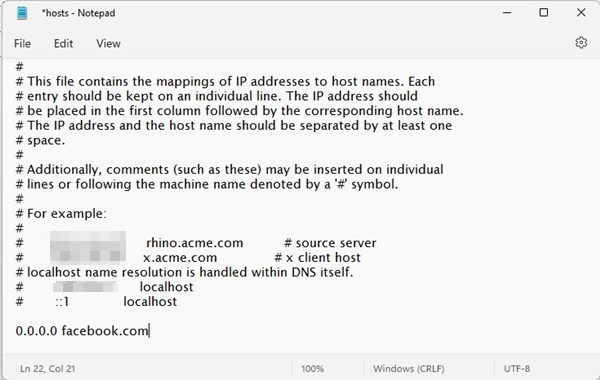
If you want to block any website, you need to add a line at the bottom of the hosts file. The line you need to add is: 0.0.0.0 facebook.com
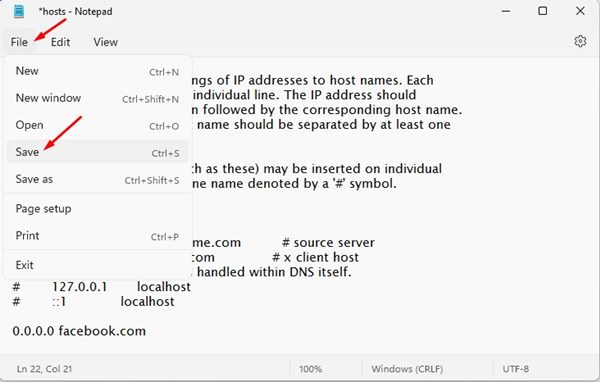
The above line will block the Facebook website on your device. You can add as many websites to the hosts file as you want. The web address should appear after 0.0.0.0 Once done, click on the File button and select the ‘Save‘ option. That’s it! This will block the website on your Windows 11 PC.
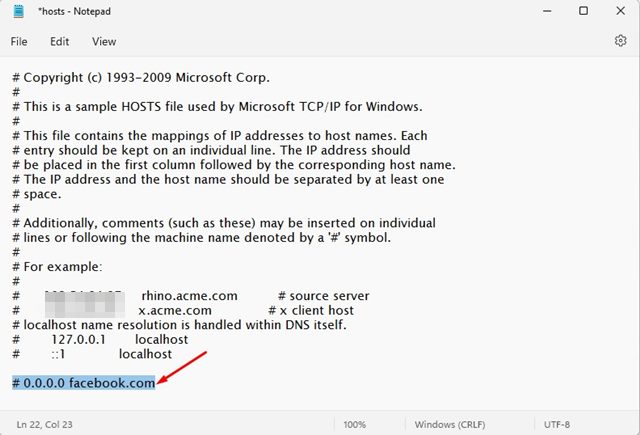
If you want to unblock the website, you need to delete the line you have added in the hosts file. Or else, you can add # at the beginning of the line to convert the syntax into a comment.
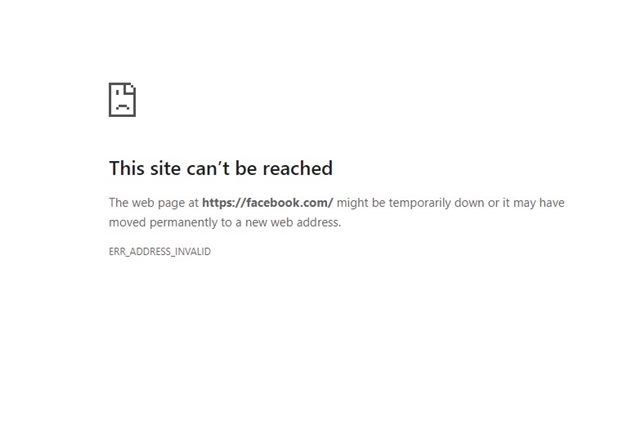
That’s it! This is how you can edit the hosts file in Windows 11 to block websites. Now whenever you will try to visit the site, you will see a screen like below.
So, that’s all about how to find and edit the hosts file in Windows 11. If anything goes wrong, you need to replace the edited hosts file with the original one you copied before. If you have any doubts about this, let us know in the comments below.
Δ